Implementing Localization for Dropdown Menu
Problem Statement: How to implement Localization for the menu items. Localization enables you to render your app in multiple languages. WaveMaker automatically detects the user’s preferred locales (from the browser) and renders the application with the locale of the user’s preference if the application supports. The user can be given a choice to select the language using the Select Locale widget.
In this document, we will be walking through the steps to enable language support to Dropdown Menu widget.
Enable Language Support for Dropdown Menu
- From the Variable menu create a Model Variable.
- Give a name to the Variable, say menudata, and set the isList option to true.
- Use the following JSON structure in the Text Editor, to define the structure for Menu identifying Label, Icon, Link, and Children. Icons can be halflings from glyphicons or font awesome icons.
[
  {
    "mylabel": "KEY_1",
    "icon": "glyphicon glyphicon-home",
    "link": "#Main"
  },
  {
    "mylabel": "KEY_2",
    "icon": "glyphicon glyphicon-user",
    "link": "http://www.facebook.com"
  },
  {
    "mylabel": "KEY_3",
    "icon": "glyphicon glyphicon-search",
    "children": [
      {
        "mylabel": "KEY_4",
        "icon": "glyphicon glyphicon-arrow-right",
        "link": "http://www.google.com"
      },
      {
        "mylabel": "KEY_5",
        "icon": "glyphicon glyphicon-arrow-right",
        "link": "http://www.yahoo.com"
      }
    ]
  }
]
Here, we have parameterized the mylabel values as KEY_1, KEY_2, KEY_3, KEY_4, KEY_5 so that the label values can be displayed as per the locale selection at runtime.
Drag and drop a Dropdown Menu widget on the canvas (more on Dropdown Menu)
- From Properties panel, under the Dataset section, using the chain icon next to the Value property bind the widget to the Modal Variable (menudata) created in the above steps.
- Under the Actions section set:
- the Action Label to the following value: App.appLocale[mylabel], (you have to use the Use Expression option from the Bind Dialog)
- the Action Icon to icon, and
- the Action link to link.
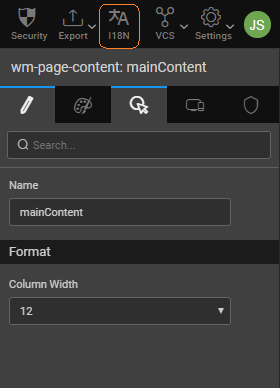
Open the I18N dialog from the Project Configurations of the Project Workspace (more on localization).

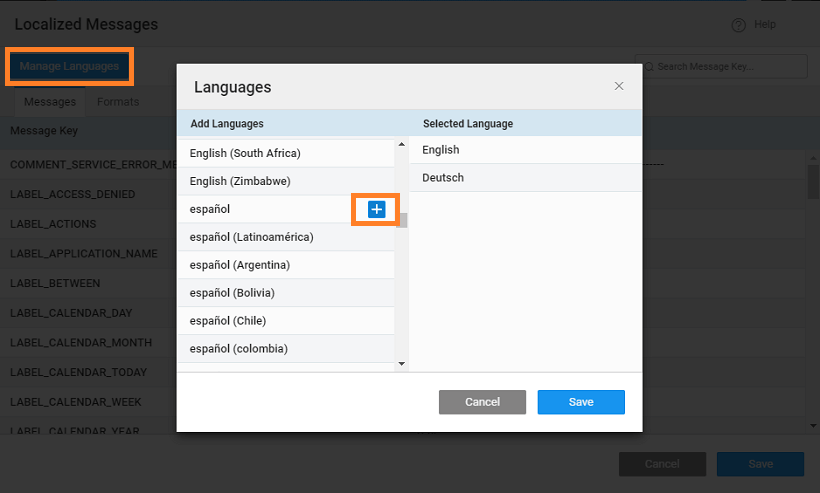
- Use Manage Languages to add languages to your app. By default, English is already added.

- Use + sign next to Message Key header to open the Localized Message Dialog.
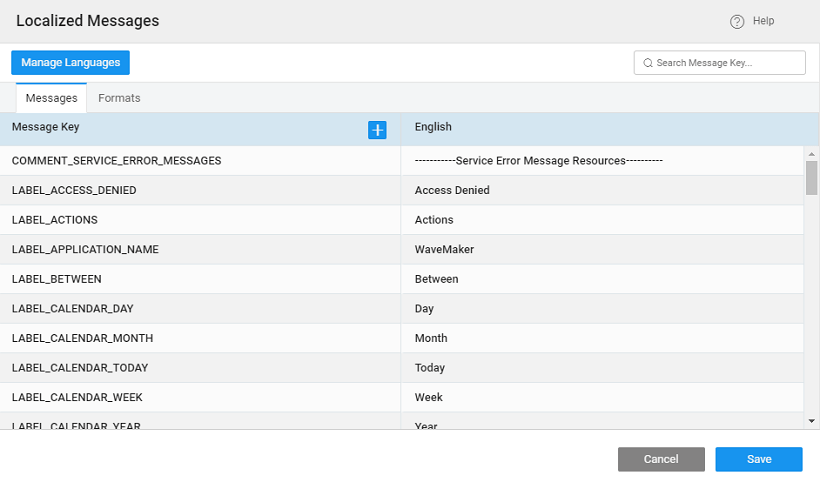
- Add a message as shown below:

- Repeat the process for all the messages keys.

Drag and drop a Select Locale widget onto the canvas. The Select Locale widget auto-populates the languages added from the I18N dialog as a drop-down. (more on Select Locale widget)
Preview the page and check the functionality at runtime. On changing the language in the select Locale widget, the values in the Menu dropdown will also change.


See Also
Dropdown Menu Basic Usage
How to enable user role-based access to menu items